Join the movement and participate on Uniswap.
Participate
Make your computer vision data extra valuable by converting it's 2D image coordinates to 3D world ones.
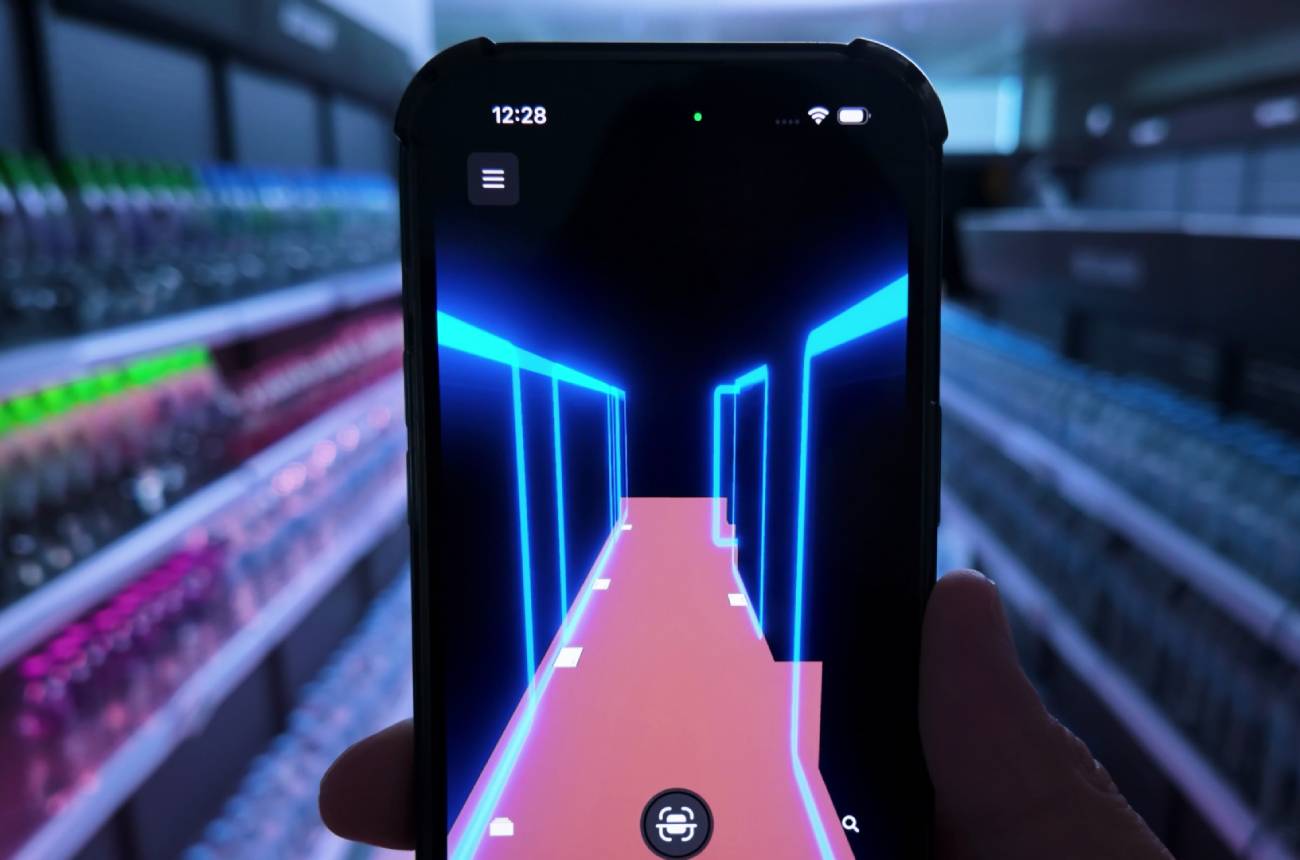
To help answer this question we'll setup a simple computer vision pipeline where a camera will stream video through RTMP to a python backend that will filter for blurry and bad quality images and send to computer vision to detect presence of keys in the image. If detected a raycast will be performed from camera to the center of the bounding box and the resulting pose will be tagged on the 3D map to help find the keys with ease.
To make your physical location more accessible to the robots and AI, you should first make a domain for it on the Real World Web. Please follow this guide to create an account, generate portal QR codes, place them around your work environment, scan the space, and annotate it with spatial data.
https://www.auki.com/posemesh/domains
For simplicity in this tutorial we'll use a smart phone camera. Any RTMP stream app will do, we'll use KC RTMP Stream App here (for iOS, for Android).
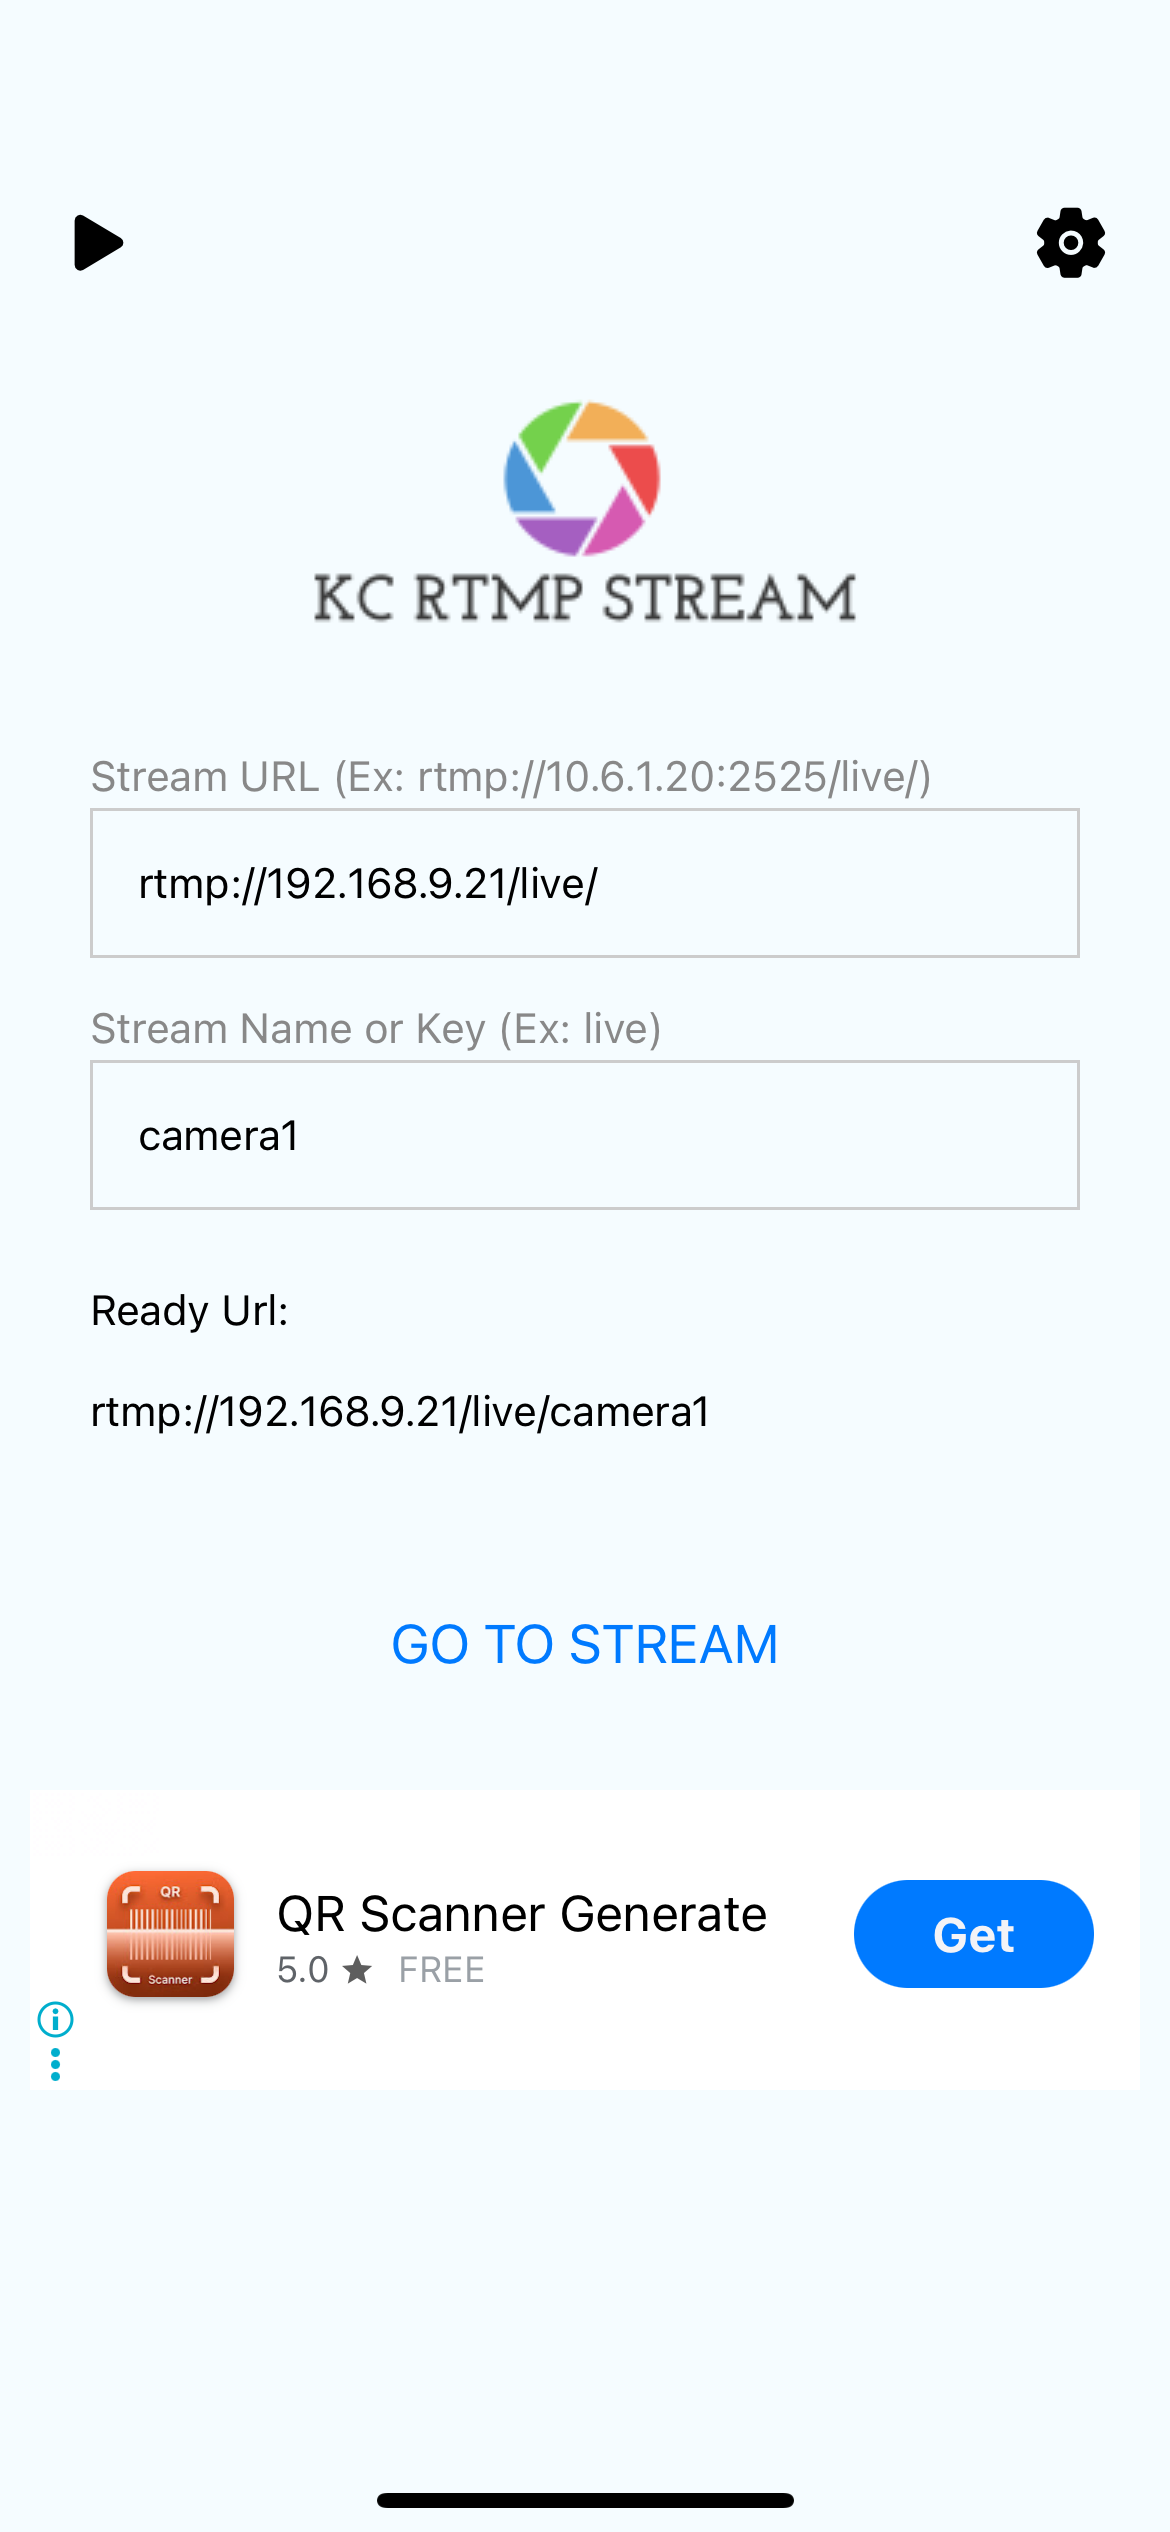
To receive the camera stream in RTMP and stream it to the network as RTSP we'll use the MediaMTX open-source media server. While not strictly necessary for this example RTSP generally works better with OpenCV and other popular computer vision tools. To run the media server with docker you can do the following:
docker run -d \
  --name mediamtx \
  -p 8554:8554 \
  -p 1935:1935 \
  -p 8888:8888 \
  --restart unless-stopped \
  bluenviron/mediamtx
Please refer to MediaMTX github for more details on this: https://github.com/bluenviron/mediamtx.
Now that the stream is ready we can start reading frames from it and send the images to a computer vision endpoint. In this case we'll use an open-source key detector model on roboflow.com. Here's how to use aa simple python script to read the frames and forward them to roboflow.
./stream-to-roboflow \
  rtsp://localhost:8554/live/phone \
  --roboflow-url "https://serverless.roboflow.com/key-detection-lfveo/4?api_key=Ptcq4k930sADbtB2oZUY" \
  --frame-interval 2.0  # Send 1 frame every 2 seconds
Full python script can be found here.
The response will look something like this:
{
  "predictions": [
    {
      "x": 756,
      "y": 506,
      "width": 262,
      "height": 108,
      "confidence": 0.943,
      "class": "key",
      "class_id": 0,
      "detection_id": "65d8ed07-b207-4053-abc2-cf9d00dd38c8"
    },
    {
      "x": 1012,
      "y": 518,
      "width": 246,
      "height": 262,
      "confidence": 0.89,
      "class": "key",
      "class_id": 0,
      "detection_id": "992aed8f-2914-40a7-bbcb-178212309408"
    }
  ]
}To find the pose of the in the domain coordinates, you need to take an image that contains a portal QR code in the view with one of its onboard cameras. Please check out this GitHub repository for how to do that in Python or a command-line interface.
Currently, if there is no QR code in the image, the localization will fail. The next major update to the localization will support a visual positioning system, which will eliminate this requirement.
After finding the pose of the camera, and the bounding box of the detection in the image we want to perform a raycast in that direction to find where it intersects with the topology map of the domain and figure out the 3D coordinates of the detected object. We'll make us of the domain spatial computer example codebase for this. Please follow the readme on the GitHub repo to run it on your machine.
https://github.com/aukilabs/domain-spatial-computer
The API key and secret required by the server can be created on the console https://console.auki.network/
Once the domain spatial computer is running you can request it to perform a raycast.
Example request:
curl -X POST http://localhost:8000/spatial/raycast \
  -H "Content-Type: application/json" \
  -d '{
    "domainId": "your-domain-id",
    "ray": {
      "position": {
        "x": 0,
        "y": 0,
        "z": 0
      },
      "rotation": {
        "x": 0,
        "y": 0,
        "z": 0,
        "w": 1
      }
    }
  }'
The response will contain the point in 3D coordinates of the detected object.
Example response:
{
  "message": "Success",
  "data": {
    "hits": [
      {
        "point": {
          "x": 0,
          "y": 0,
          "z": 0
        },
        "distance": 0,
        "normal": {
          "x": 0,
          "y": 0,
          "z": 0
        },
        "faceIndex": 0,
        "name": "string"
      }
    ]
  }
}
With this data, you can tag a 3D map viewer with annotation of where the keys were found or use a navigation on a phone to guide the user to the keys.
Apply for a hacker residency to work with us at our lab in Hong Kong.
We also offer grants of AUKI tokens to get your project off the ground and out to the market. Successful applicants may be granted up to 100k USD worth of AUKI tokens, as well as development, fundraising, and marketing support from the Auki team.